

Striive provides a web based sign up process for all your new clients. This allows you to provide a consistent experience for clients whilst also capturing the information you need.
Tip: By default all Striive account will ask new clients to complete an industry standard PAR-Q form. If your business does not require this you can during this off in the Organisation settings.
Invites vs public sign ups
When inviting new clients you have the option to select an agreement to be signed and also ask the client to create a password for access to your client area and app. When a client signs up using your public sign up link, both of these steps will be omitted.
All clients will be asked to provide their personal details, goals or intentions, and emergency contact information.
Note: Once clients have signed up online, we’ll direct them to your client are and to download the Striive client app.
The client journey
Note: The below outlines all possible steps of the new client journey. Based on your settings or your clients entry point (outlined above) some steps may be removed.
When your clients click on your public sign up link or an email invite, they will land on your client area's sign up welcome screen.

Tip: Customise your client area with your own branding in your Organisation settings.
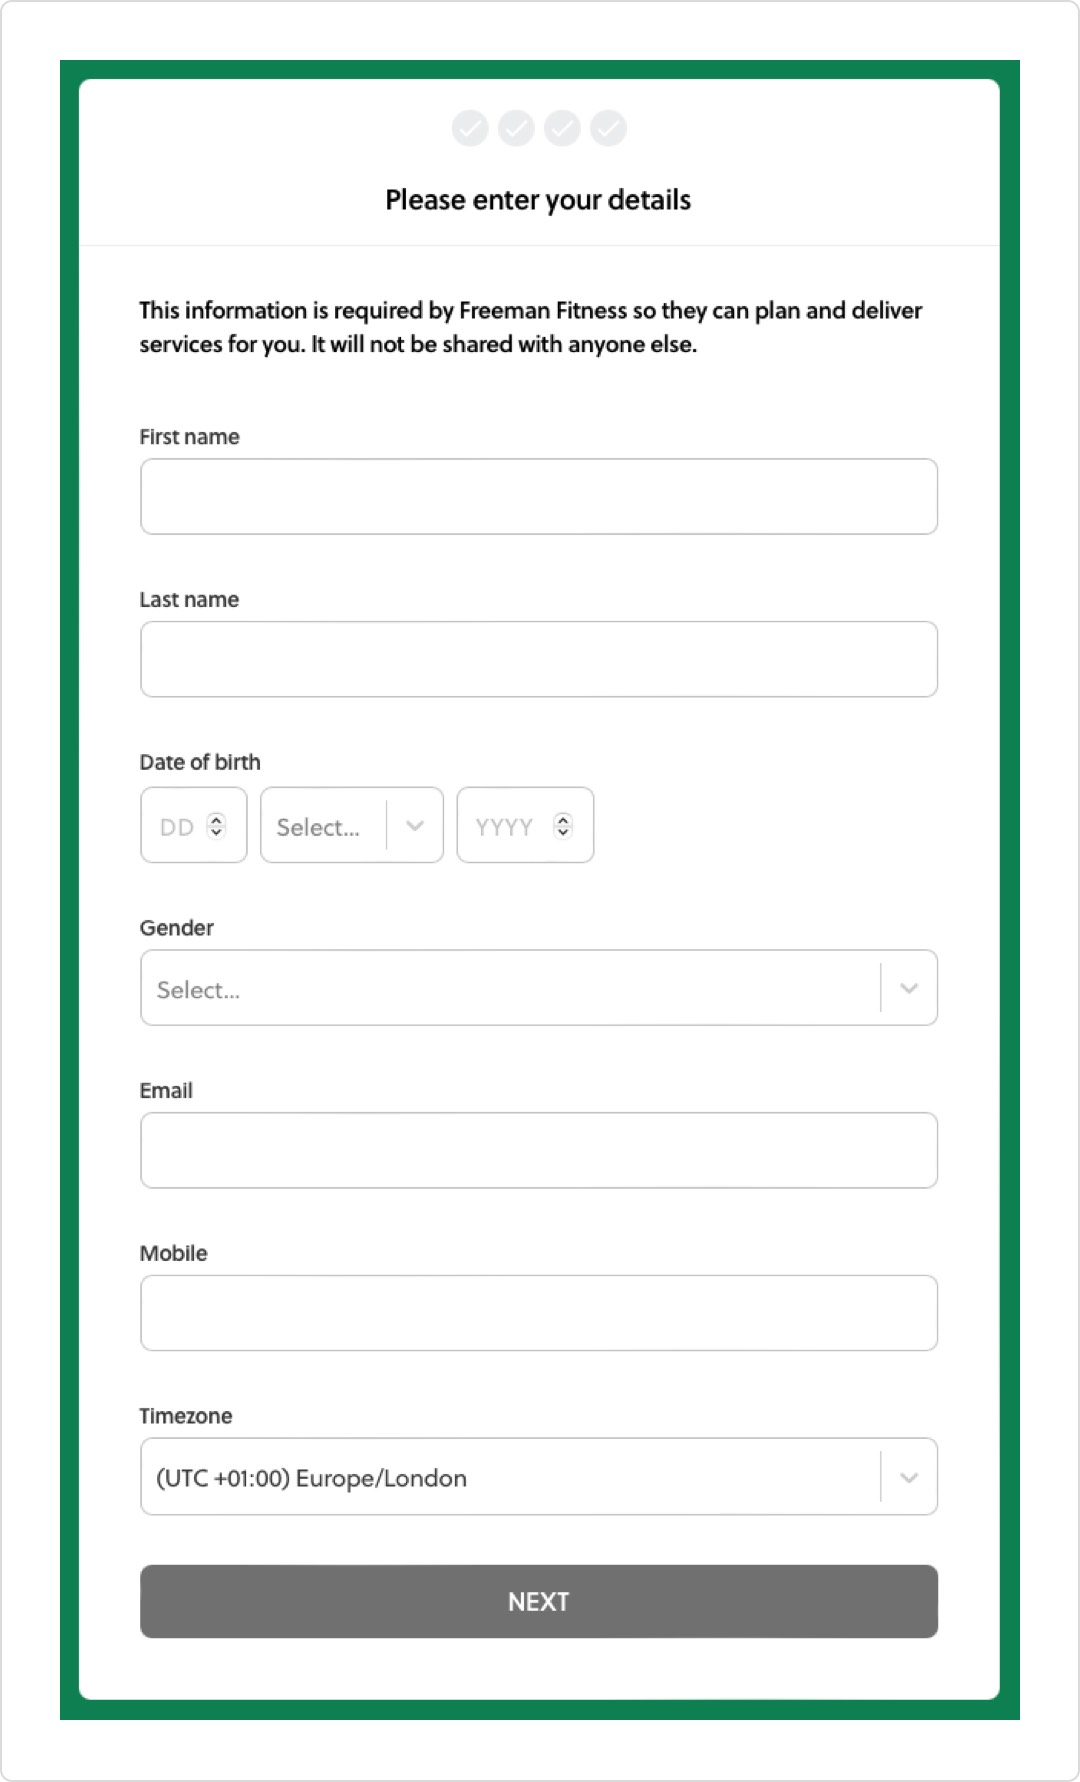
Step 1: Personal details
All clients will be asked to enter their personal details.
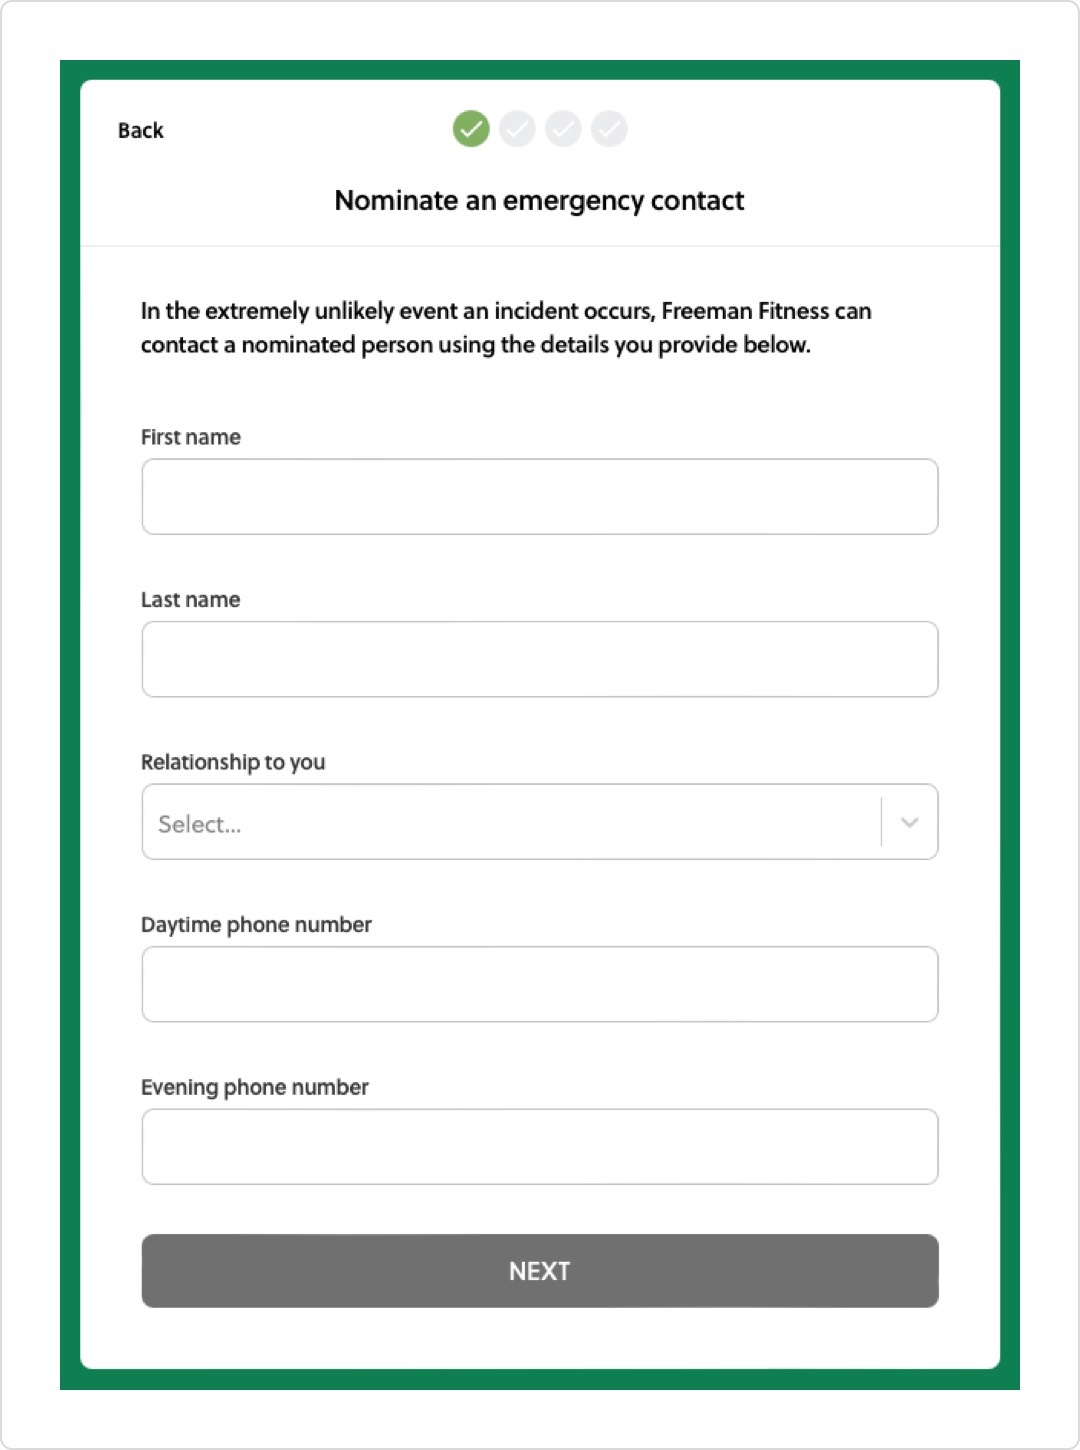
Step 2: Emergency contact details
All clients will be asked to provide a contact in case of an emergency.
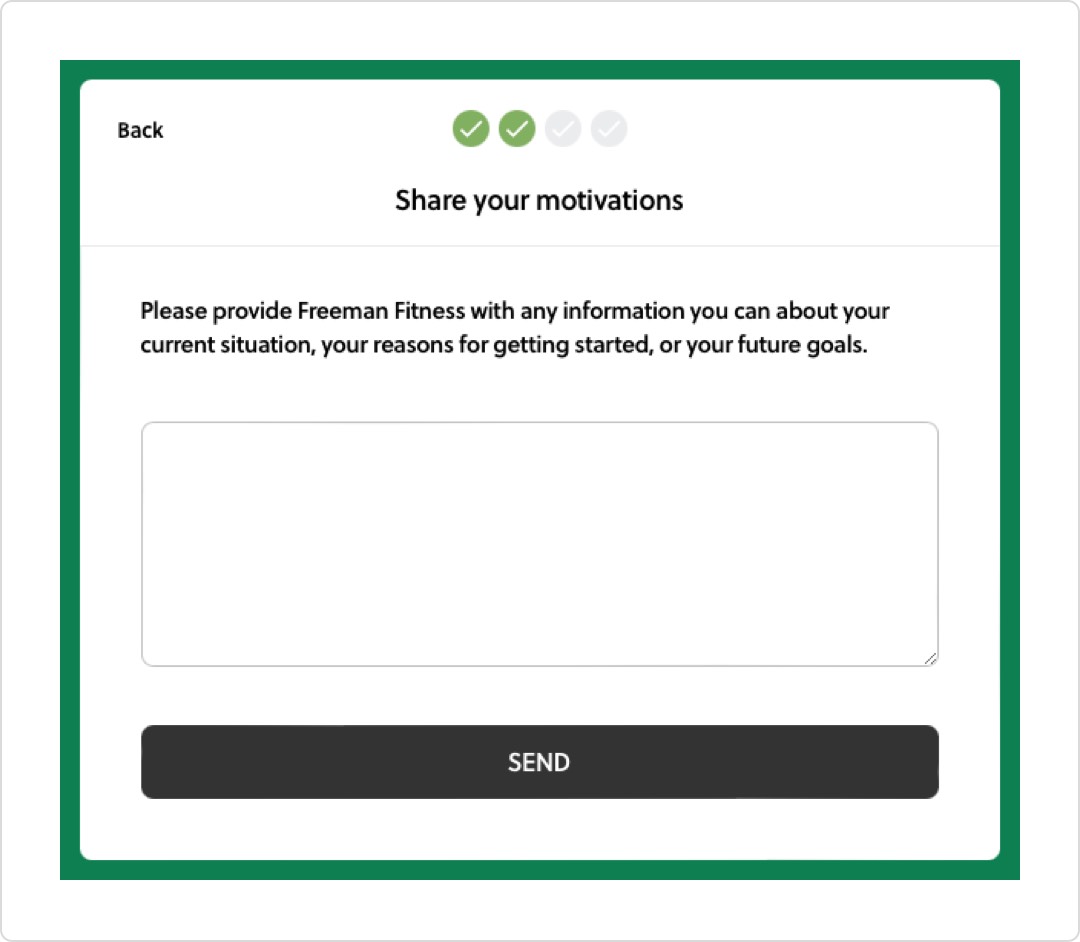
Step 3: Sharing motivations
All clients will be asked to share their motivations for signing up to your services, and what they hope to achieve.
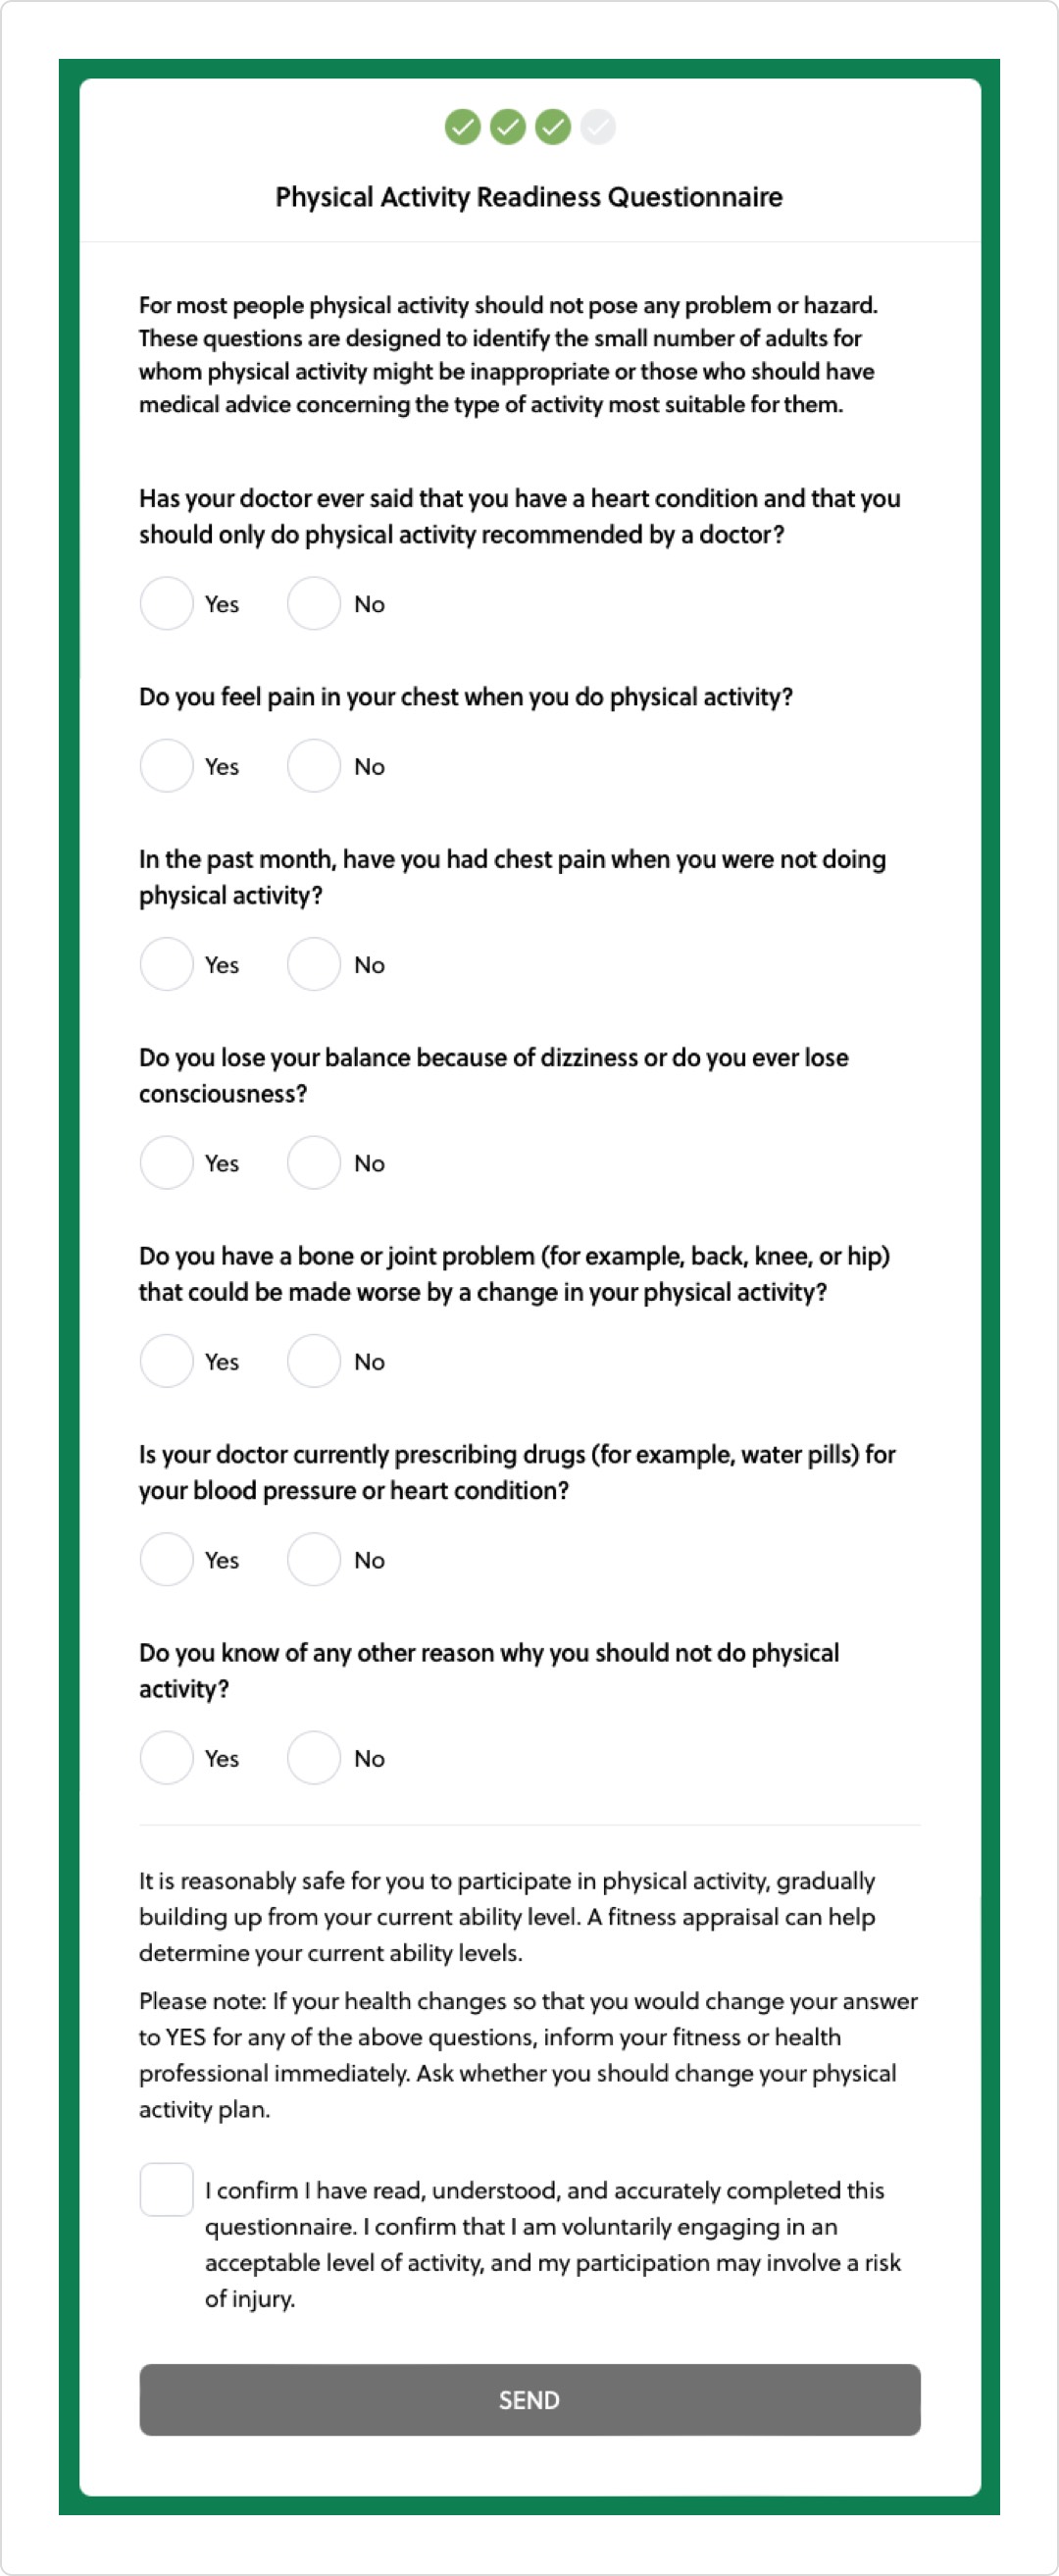
Step 4: PAR-Q
If enabled in your account, all clients will be asked to complete an industry standard PAR-Q. You can choose to add or remove this step in your organisation settings.
If a client answers yes to any questions, they will be asked to provide further details. This will be included when you review the clients details, so you can decide whether they are still an appropriate client for you.
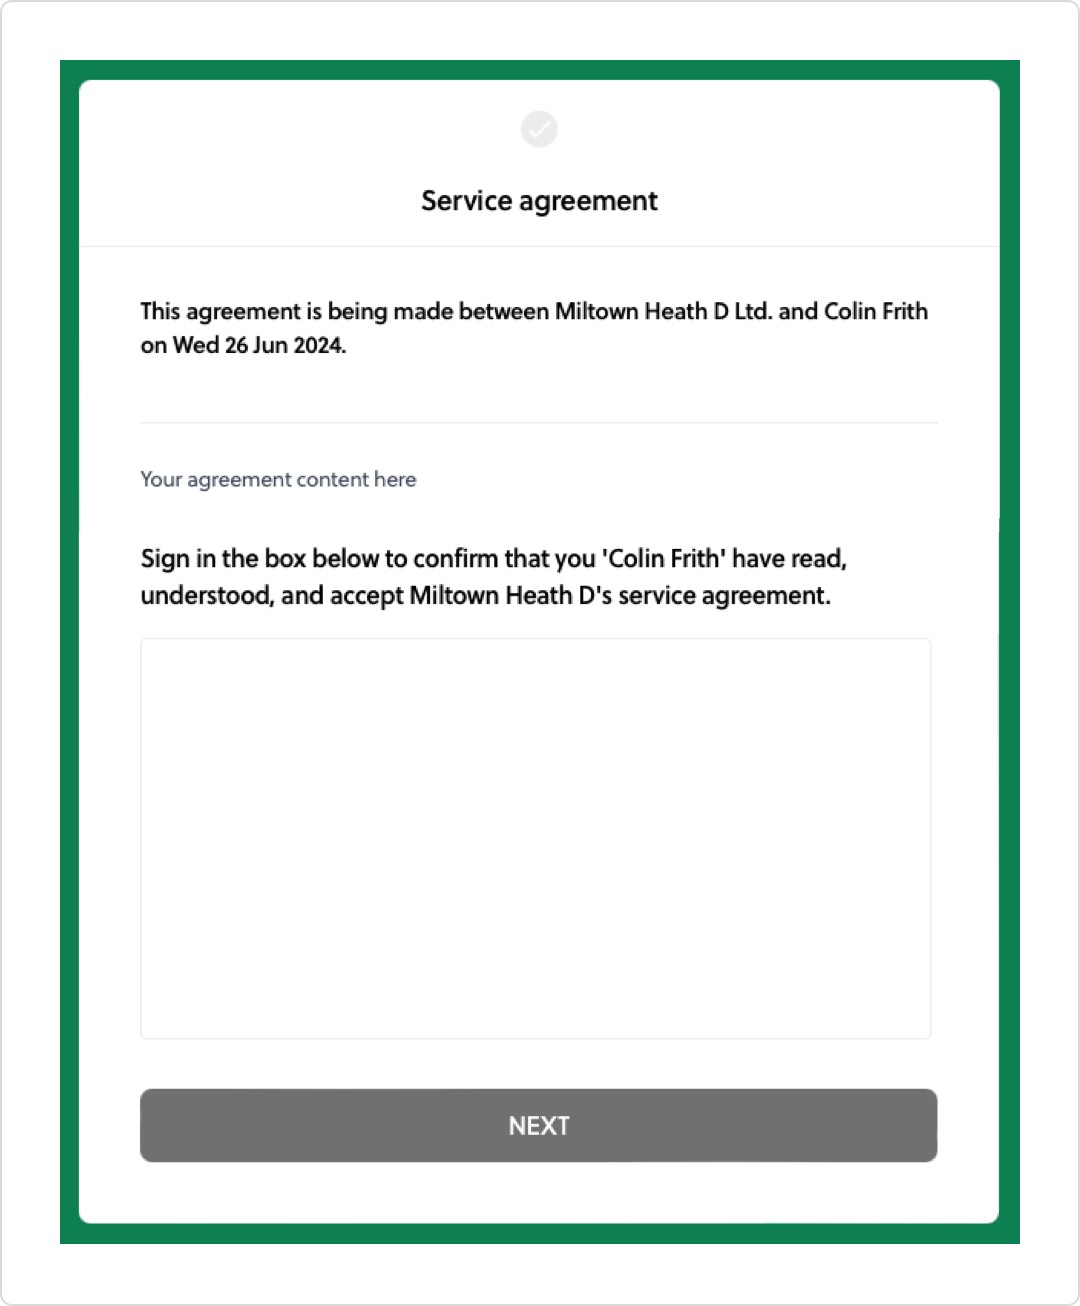
Step 4: Agreement signing
If you selected an agreement for a client when sending them an invite, they will be asked to sign it online.
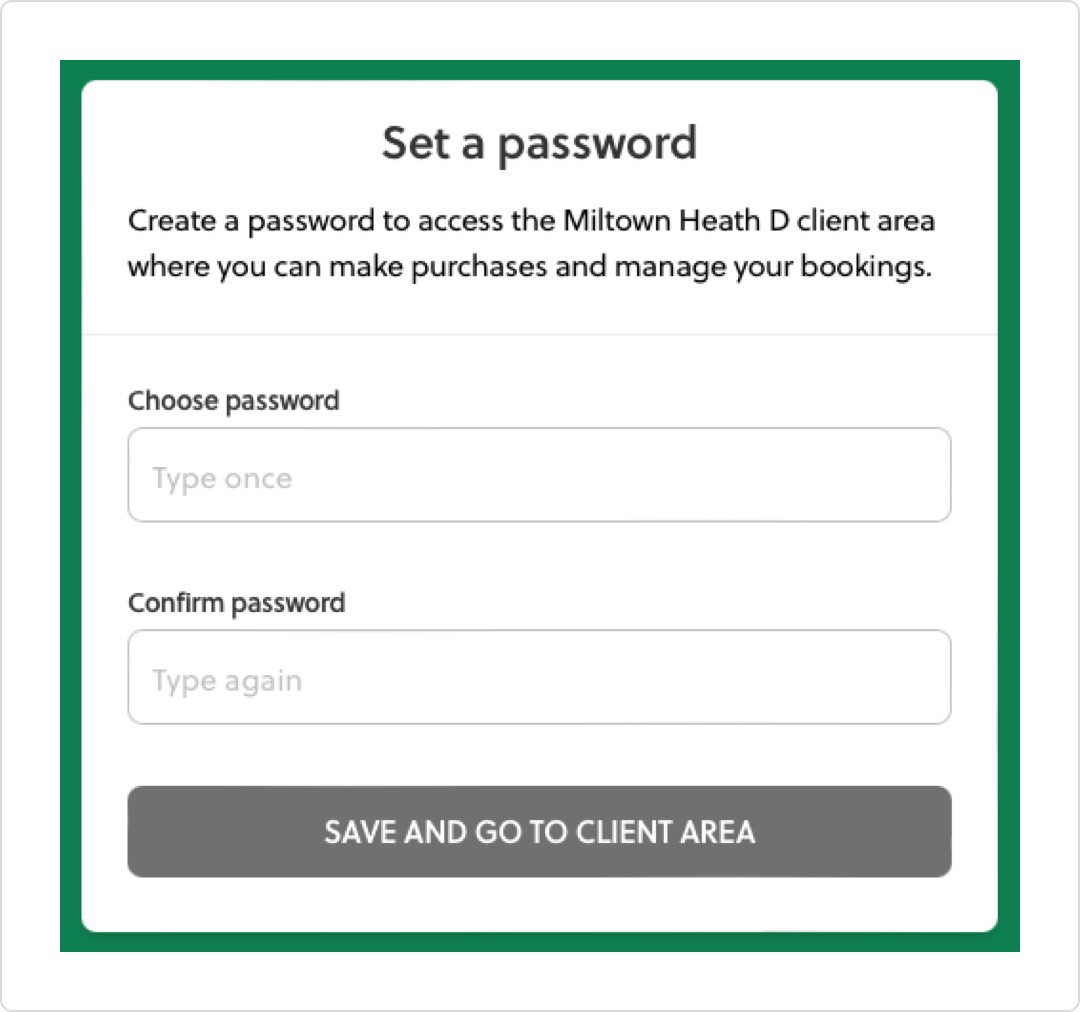
Step 5: Setting a password
If you requested the the client set up a password to access your client area and app when sending their invite, they will be asked to do so at this point. Clients you set passwords will immediately be able to access your client area to make purchases and bookings.
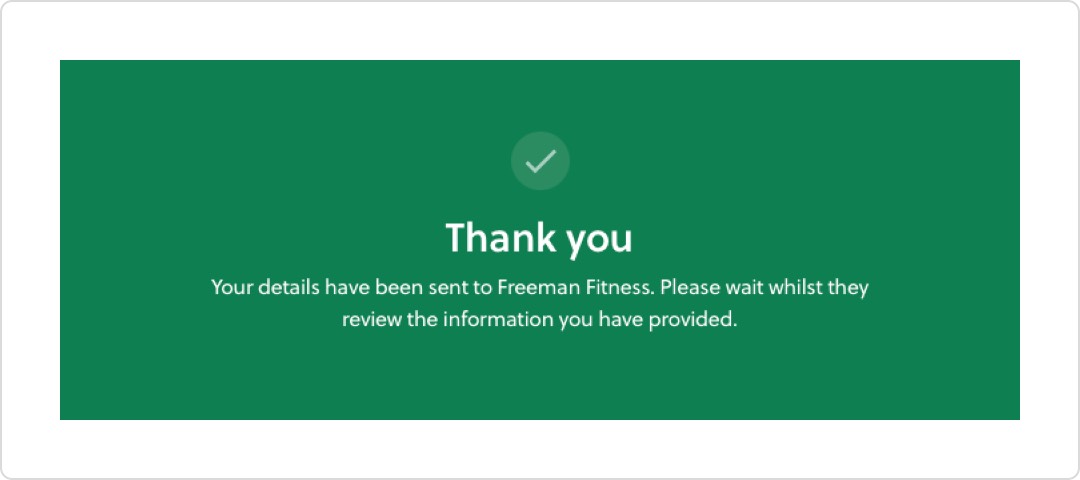
Clients that sign up via your public sign up link will end on the screen below. As and when you invite them to create a client area password or sign an agreement, they will receive this request from you by email.